Are you a PCLinuxOS 2007 user?
Are you one of the many that love the default theme and think it’s eye catching but wish you could change it and make it your own? Do you wish there were more themes, icon sets, and bling for your desktop that would be easy to add? I did too. Here’s how I was able to customize PCLinuxOS 2007:
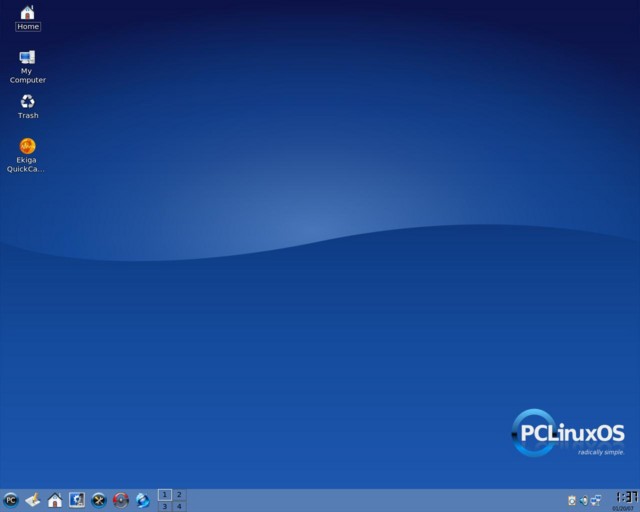 PCLOS Default
|
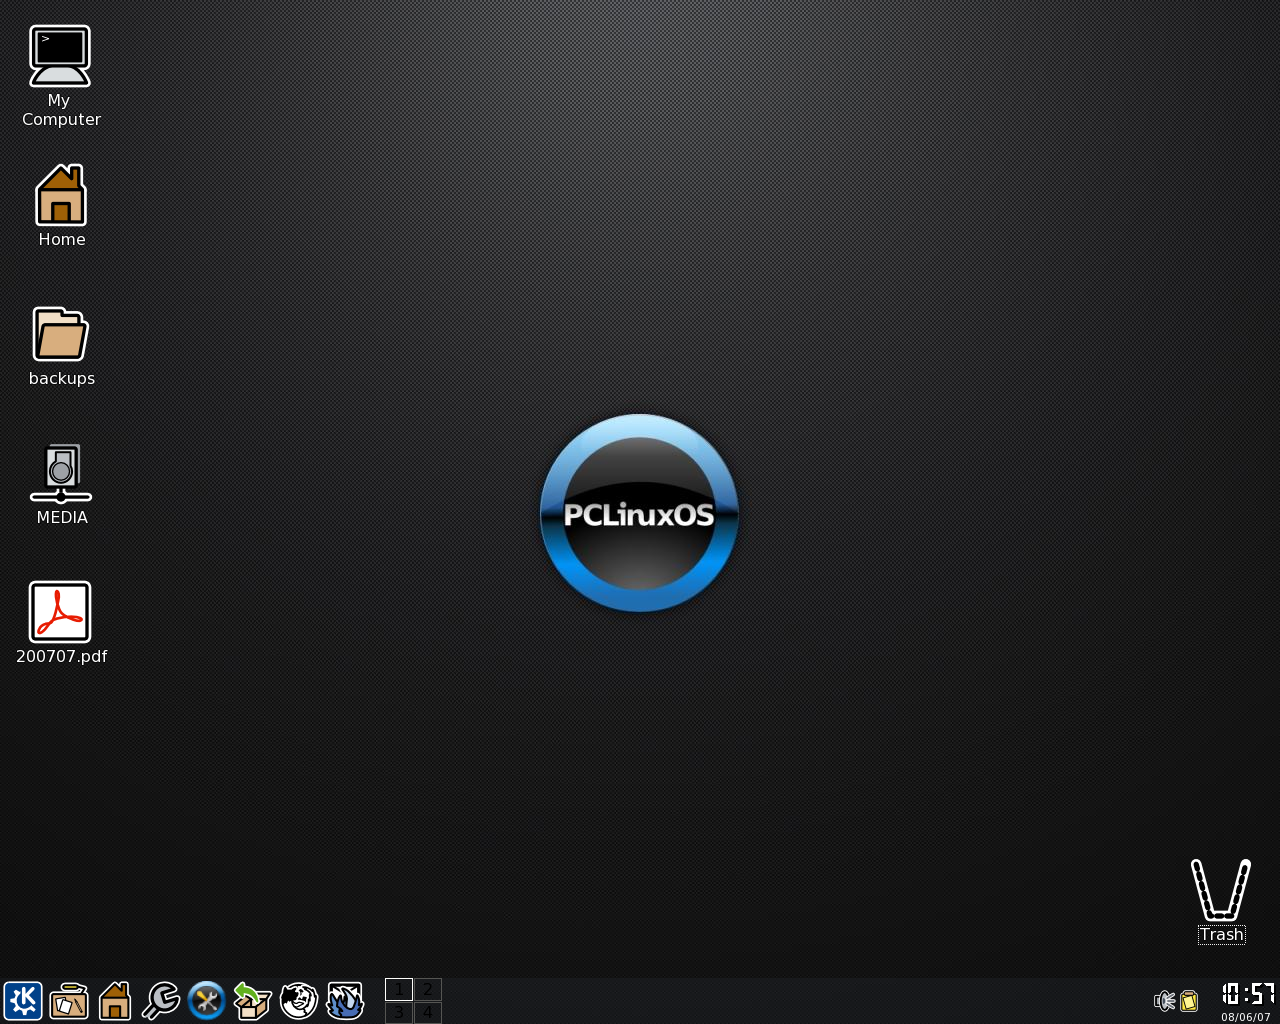 PCLOS Custom
|
I like my desktops to appear pleasing to both my eyes and the eyes of others. Normally, I visit VladStudio for great wallpapers and customize my desktop with them. With PCLinuxOS though, I found that many of the styles, icon sets, and themes included in the repository are perfect for making your desktop beautiful.
I often look at kde-look.org in search of the right desktop wallpaper. The problem I have with kde-look.org isn’t a lack in content…but rather, a mess of different formats. Some themes are installable, others are zipped up as source. While I could get those installed…I opt for the Gnome approach to themes…drop an archive in the theme window and it’s installed. The closes thing I can come to doing this is installing themes using the Synaptic Package Manager in PCLinuxOS.
Installing Icons
Let’s get started installing icons. Open Synaptic (the big red S icon by your kmenu or can be found by going to Kmenu >> System >> Configuration >> Packaging) and install the following packages:
- kde-icons-aquafusion
- kde-icons-crystalclear
- kde-icons-crystaldiamond
- kde-icons-crystalgt
- kde-icons-exquisite
- kde-icons-fairytaleworld
- kde-icons-genuinecrystal
- kde-icons-gorilla
- kde-icons-korilla
- kde-icons-krystaline
- kde-icons-lila
- kde-icons-lila-blue
- kde-icons-lila-red
- kde-icons-lila-white
- kde-icons-newcrystal
- kde-icons-noia
- kde-icons-noiawarm
- kde-icons-nuovext
- kde-icons-nuvola
- kde-icons-os-k
- kde-icons-oxygen
- kde-icons-primary
- kde-icons-sparkling
- kde-icons-tulliana
- kde-icons-vista
- kde-icons-faces
- kdemoreartwork-tiblit
- kdemoreartwork-winxp
That takes care of installing many new icons that will be available after you install them in the KDE Control Center. Up next, let’s install some more eye appealing artwork in the form of wallpapers.
Installing Wallpapers/Cursors
I love gryphen’s wallpapers. Gryphen is the project leader of a great team of graphic artists that helped give PCLinuxOS 2007 it’s fantastic look. They didn’t stop there though…they had many other wallpapers they did and most of them are available through synaptic. Keep synaptic open and install the following:
- cursor-theme-blueprint
- cursor-theme-comix
- cursor-theme-Chameleon-Anthracite
- cursor-theme-Chameleon-DarkSkyBlue
- cursor-theme-Chameleon-Pearl
- cursor-theme-Chameleon-White
- cursor-theme-crystal
- cursor-theme-premium
- cursor-theme-xprience
- kde-wallpapers-gryphen
- kdeartwork-kde-wallpaper
The hard part is done…now comes the fun part. This is where you get to decide what looks best on your desktop by choosing the different themes, wallpapers, window decorations, and icon sets you’ve installed.
Choosing a Cursor
Open up the KDE Control Center (should be the square icon next to the round PCLinuxOS Control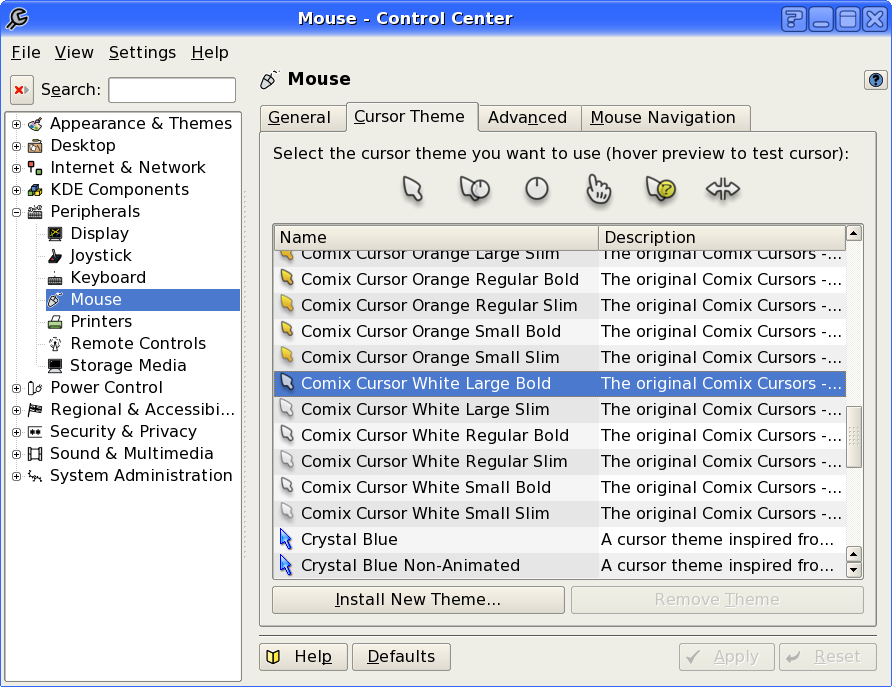 Center icon…or get to it by going to PC >> System >> Configuration >> Control Center).
Click on Peripherals >> Mouse. Next, select the Cursor Theme tab.
As you can see from the picture, I’ve chosen the Comix Cursor theme. There are many others to choose from that you’ve installed via synaptic. Look around for one that suits you and select it. Click the “Apply” button and if told you have to restart KDE for changes to take place…click “Ok”. Logout and back in and take a look at your new cursors!
Setting Up Fonts
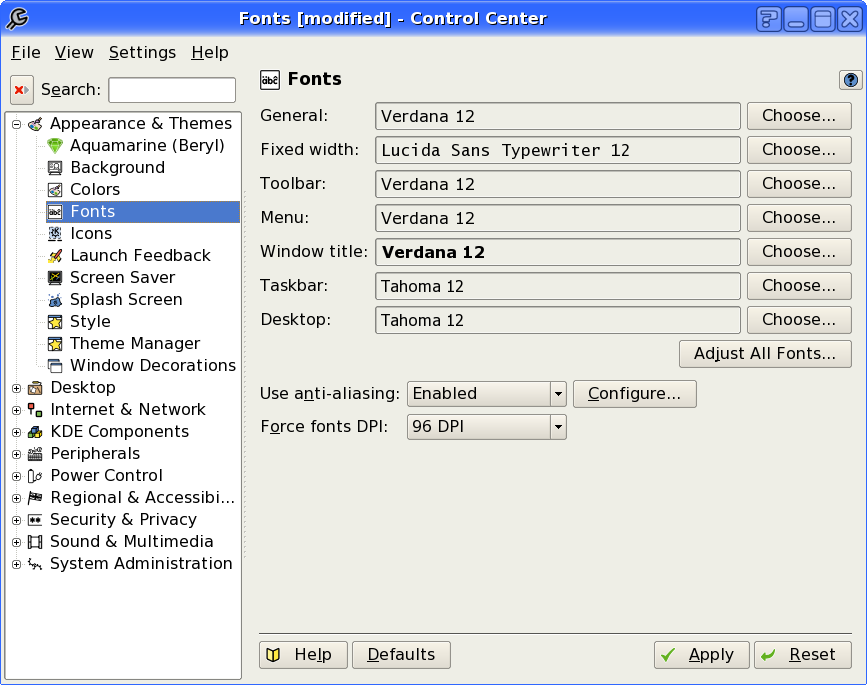 After logging back in, open up the KDE Control Center. Click on Appearance and Themes >> Fonts. If you own a copy of Microsoft Windows and still have the license information, you can install the “webcore-fonts” package which will give you some more fonts to choose from. Experiment around…open up your Home directory in Konqueror so you can change fonts and hit the apply button which will show the changes you’ve made. Having a Home directory up will show you the changes you’ve made to titlebars, menu’s, and icon text. Once you’ve found the best combination that you like (I recommend Verdana for standard fonts and for something interesting…Babelfish) click apply and we’ll move on to the next area of customization.
The Wallpaper aka Background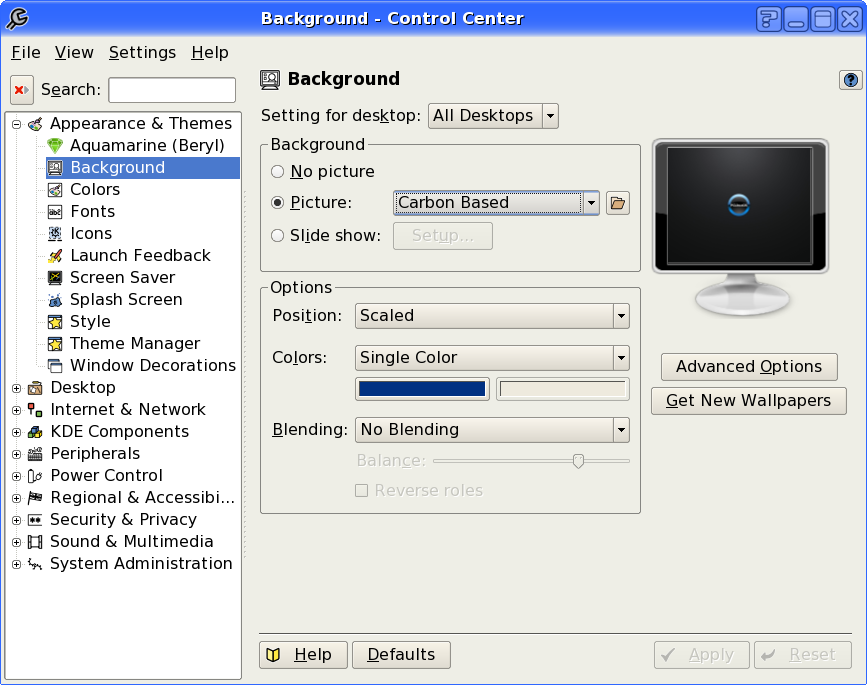
In the KDE Control Center, select Appearance and Themes >> Background. There should be many more background wallpapers installed now. Cycle through them and choose one that you prefer. As you can see, I selected one of gryphen’s awesome wallpapers as my desktop. As you can also see, I’m of the mindset that dark backgrounds are easier on the eyes than light ones…especially if I’m staring at the screen for hours each day.
The Icon
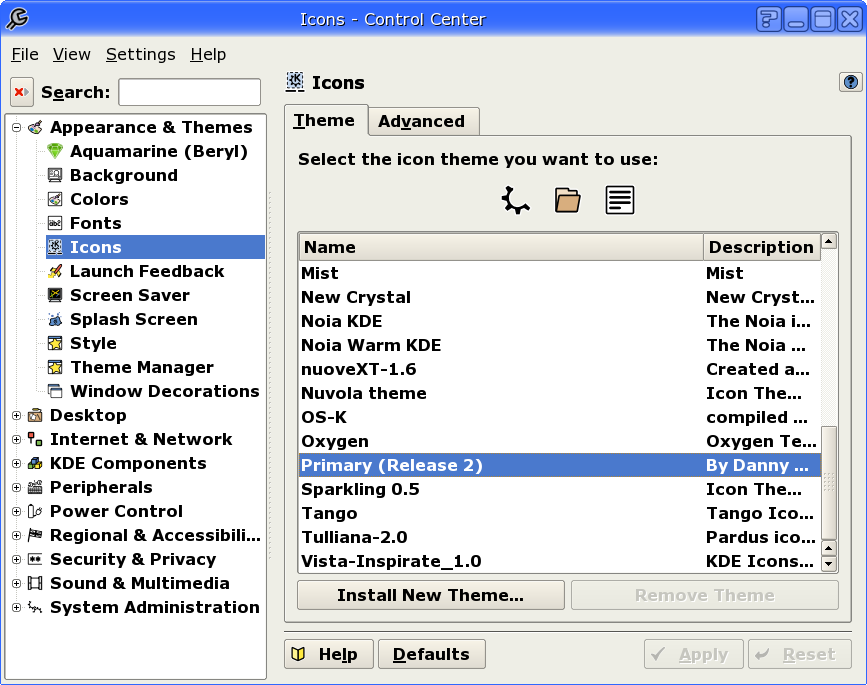 Now it’s time to choose the all important Icon Set. In the KDE Control Center, select Appearance and Themes >> Icons. There are many icon sets you can choose from. Cycle through each of these hitting the apply button to see the visible changes. Remember, you can open up your Home in Konqueror to see the changes better in a window. As you can see, I’ve selected the “Primary” icon set.
 ![]()
Another quick tip you may or may not know…if you right click the Kmenu (or PC Menu as some call it) there is a different option for you to choose Kmenu styles. Right click the Kmenu and choose “switch to KICKOFF Style Menu”. This allows you to go from the left picture to the right picture with a simple right click. You can then right click again to switch back.
You’ve Got Style!
Next up we get to choose the menu style. My favorite relates to the Comix Cursor Theme I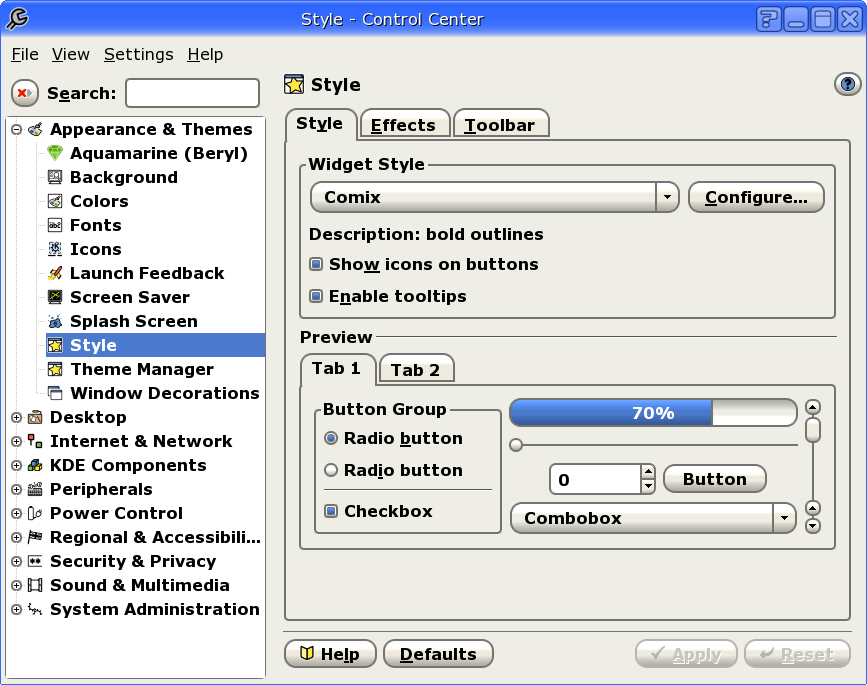 previously installed and is called interestingly enough, Comix. I selected this one by going to the KDE Control Center >> Appearance and Themes >> Style. From there I chose Comix. There are some advanced settings you can mess around with if you’d like…find those by clicking the configure button next to comix. Don’t forget that you can tweak the effects and toolbar settings also by using the tabs inside the Style menu.
So What is the Theme Section for?
I leave the theme section alone. Mainly because it is the whole kit and kaboodle. It’s an icon set, style, window decoration, wallpaper, and font schema rolled into one. I like granular control over my desktop. You may choose to install something from kde-look.org or use one of the themes that is present in the control center and that’s fine…I just didn’t elect to do so here.
Decorate those Windows
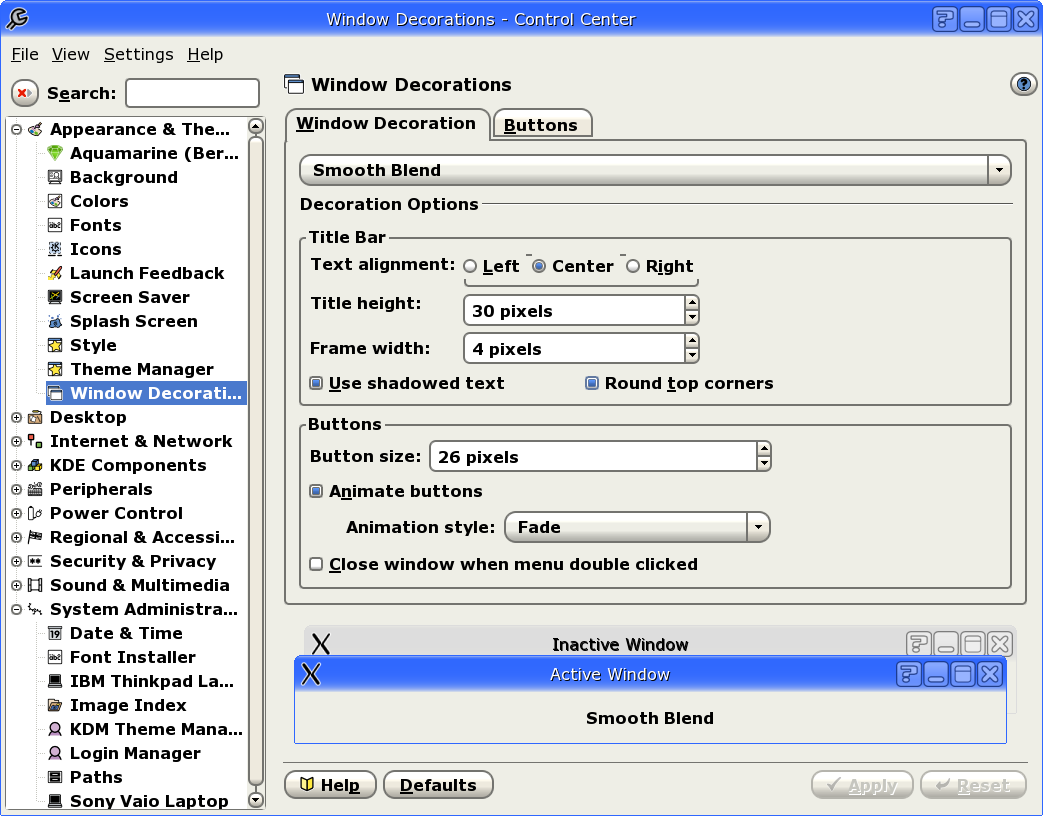 Next up on our customization journey is the Window Decoration. This is the top bar of each window that allows you to minimize, maximize, or close a window. You can choose from one of many different types of decorations. My favorite seemed to flow with my choosing of Comix cursor theme and the Comix menu as well as my choice of primary icon set…and that favorite is Smooth Blend. I think it compliments the various components I’ve elected to go with thus far. When you’re all done choosing we’ll finish up with the splash screen and KDM screen.
Make a Splash
I really like the splash screen that comes by default with PCLinuxOS…but change is sometimes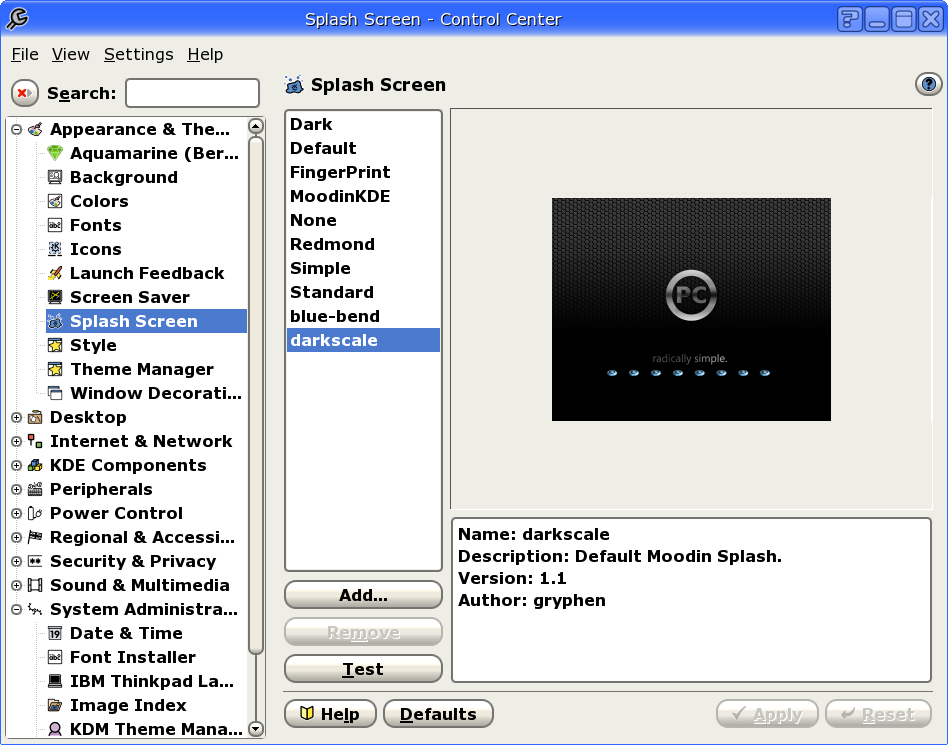 good. Therefore, I’ve decided to go with another theme designed by gryphen for my splash. If you don’t already have it open, go into the KDE Control Center >> Appearance and Themes >> Splash Screen. I changed to the “darkscale” theme. There are many other splash screens you can choose from on kde-look.org that are pretty simple to install using the “add” button. You can also “test” each theme out using the test button.
KDM Theme
In the KDE Control Center select System Administration. In this section, you’ll need to switch to Administrator Mode by clicking on the corresponding button and supplying your root password. Select KDM Theme Manager and click on the “Administrator Mode” button. From there, select or install a theme of your choosing and click “Ok”. You can find many of these themes also at kde-look.org. Experiment around and see which one you like.
The Login Manager
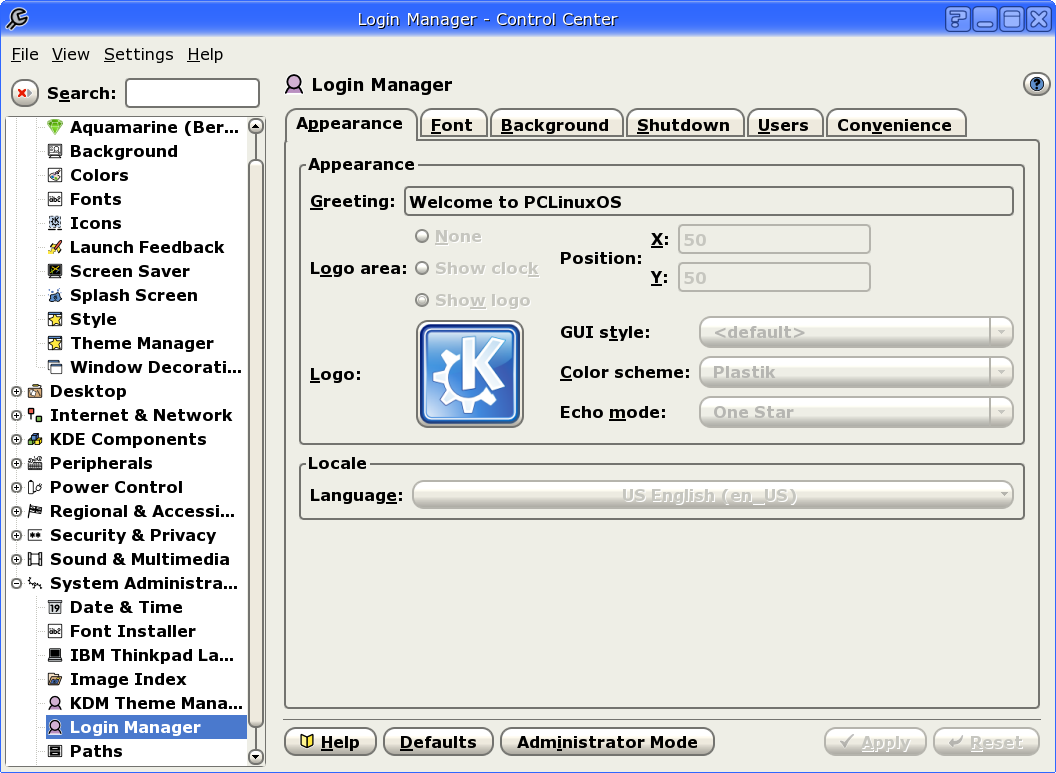 In the same area, system administration, inside the KDE Control Center…you’ll find the section titled “Login Manager”. Go there and once again click the administrator mode button and supply your root password. After this, tweak your fonts to match those that you chose in the fonts section above by clickin on the “font” tab and selecting them. You can check out the other tabs and adjust how you see fit and even enable autologin in this section though doing it in the PCLinuxOS Control Center is a bit easier and more central for management. when you are through, click “Ok”.
Final Thoughts
KDE is a very customizable desktop. Even more so I’ve found than Gnome is. There are countless options that you can choose to tweak. I’m sure I’ve missed a few in this post. If so, please let me know what I’ve missed in the comments and I’ll attempt to post it! Thanks for reading and I hope this has helped you to take more ownership in your KDE Desktop 😀
Get More PCLinuxOS 2007 Artwork
2 thoughts on “Install extra Themes and Icons in PCLinuxOS”
Comments are closed.